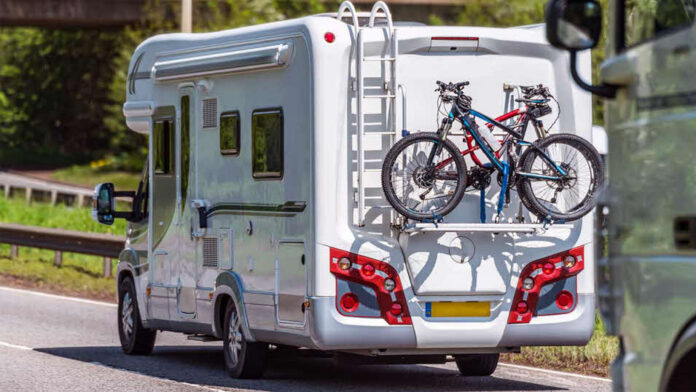
Getting the right bike setup for your RV trips can make or break your outdoor adventures. You’ve probably seen those motorhomes rolling down the highway with bikes dangling precariously off the back, and wondered if there’s a better way. When you’re investing in a top-rated bike rack for motorhome travel, you’re not just buying a piece of equipment – you’re buying peace of mind and the freedom to explore new trails wherever your wheels take you.
Weight Limits Matter More Than You Think
Here’s something most people don’t realize until it’s too late: your motorhome’s weight capacity isn’t just about the rack itself. The average bike weighs between 25-35 pounds, but when you factor in wind resistance and road vibrations, that weight effectively doubles the stress on your mounting points.
Most Class A motorhomes can handle racks supporting 200-300 pounds total, but smaller Class B and C units might max out at 150 pounds. I’ve seen way too many people load up four heavy mountain bikes on a rack rated for two, then wonder why their bumper starts sagging after a few hundred miles.
The key is checking your owner’s manual for tongue weight and rear overhang limits. Some newer motorhomes have reinforced mounting points specifically designed for bike racks, which can handle significantly more weight than improvised mounting solutions.
Hitch-Mounted vs Platform Style Racks
The debate between hitch-mounted and platform-style racks has been going on forever, but here’s the real deal: it depends entirely on how you actually use your setup.
Hitch-mounted racks swing away from your motorhome, which sounds great until you realize you need about six feet of clearance to open them properly. Try doing that in a crowded campground and you’ll understand why some RVers swear by platform racks instead.
Platform racks sit permanently extended from your vehicle, which eliminates the swinging mechanism that can fail over time. They also distribute weight more evenly, reducing stress on your hitch receiver. The downside? They add significant length to your rig, which affects parking and maneuvering in tight spaces.
Research from the RV Industry Association shows that hitch failures occur in about 12% of installations, with most problems stemming from exceeding weight ratings or improper installation rather than equipment defects.
Security Features You Actually Need
Bike theft is a real problem in campgrounds and rest stops. A decent bike rack needs built-in locking mechanisms, but not all locks are created equal.
Cable locks are basically useless – any decent bolt cutter can snap them in seconds. You want integrated locks that secure both the rack to your vehicle and each individual bike to the rack. Some premium racks use hardened steel locks that require specialized tools to defeat.
The smartest setup I’ve seen involves racks with removable bike mounts. When you’re not traveling with bikes, you can take the entire mounting system inside your motorhome, leaving potential thieves with nothing to steal.
Installation Reality Check
Most rack manufacturers claim their products install in 30 minutes or less. That’s assuming you have all the right tools, perfect weather, and a motorhome that matches their test vehicle exactly.
Real-world installation usually takes 2-3 hours, especially if you need to drill mounting holes or modify existing hardware. Some motorhomes require frame reinforcement before they can safely support a loaded bike rack, which adds another layer of complexity.
The wiring harness for lights is often the trickiest part. Your motorhome’s electrical system needs to provide power for brake lights, turn signals, and running lights on the rack. Some older rigs need additional wiring or a separate converter box to make everything work properly.
Professional installation typically costs $200-400 but eliminates the guesswork and potential warranty issues that come with DIY mounting.
